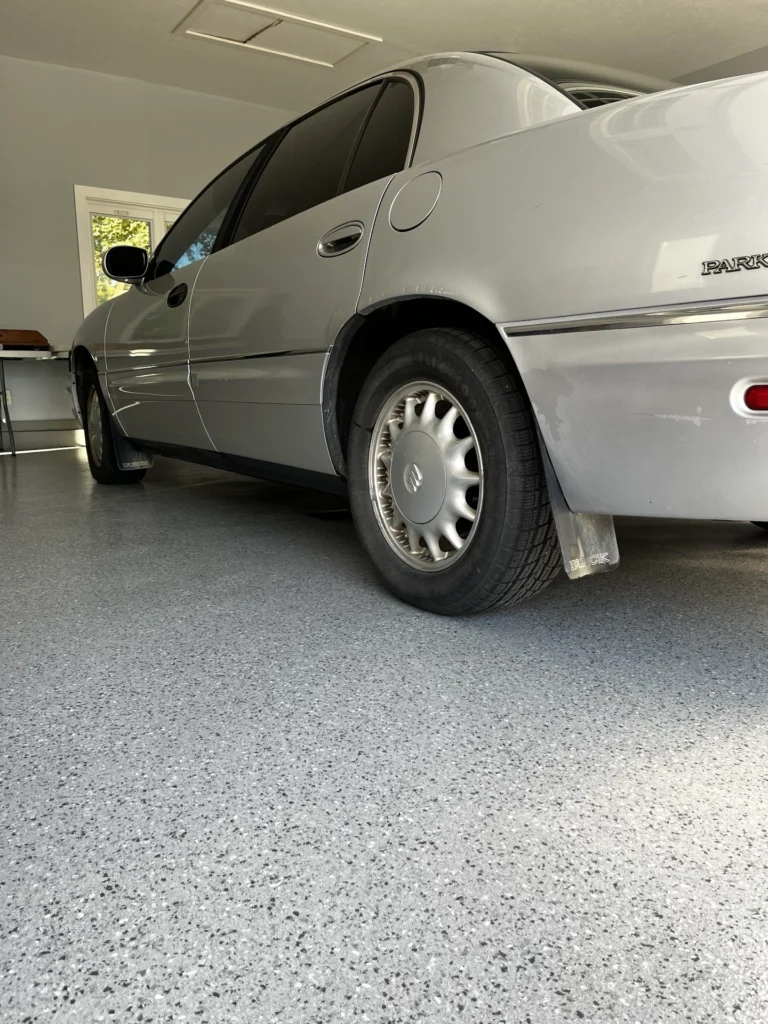
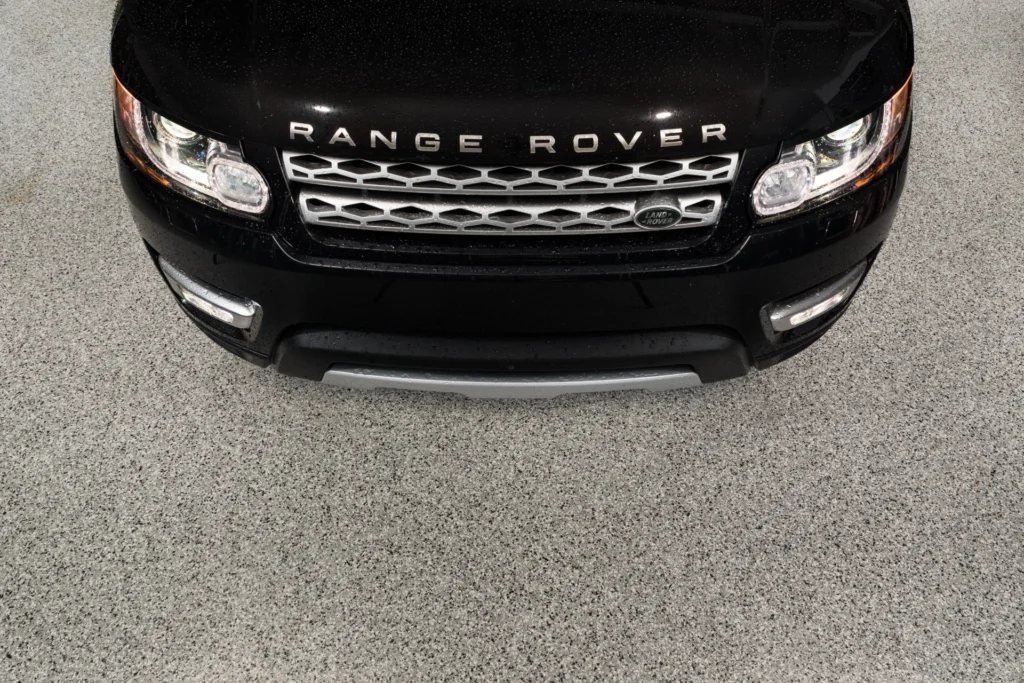
How to Install Epoxy Garage Floor Coating
Written December 4, 2025 by Kelly Weaver
Epoxy might sound like an easy upgrade for your garage, but did you know the secret to long-lasting results is more about preparation than the coating itself?
If you’re thinking about installing an epoxy garage floor yourself, you’re definitely not alone. Let’s talk about what’s actually involved and which steps make or break your results.
I’ve been in the garage floor coating business for years and work with my husband at Ideal Coatings. After answering dozens of questions from customers just like you, I’ve learned there’s a lot more to getting a rock-solid, great-looking floor than following a kit from the hardware store. So, before you haul out the mixing bucket, here’s what you should know.
What is epoxy garage floor coating, anyway?
Epoxy is one of several chemistries used to coat garage floors. Others include polyaspartic, urethane, cement urethane, and methyl methacrylate (MMA). Most people recognize epoxy for its durability, longevity, and easy maintenance. True epoxy is a two-part system: you mix a resin and a hardener together, and as it cures, it turns into a rock-hard type of plastic. Yep, plastic! (I was surprised at first, too). Once it sets, it’s not going anywhere—unless the prep underneath wasn’t done right.
Epoxy vs paint
Paint is paint. Easy to put down, but simply won’t hold up to cars or hot tires. It’s thin, and doesn’t bond to concrete well, so expect peeling or worn spots. Epoxy, on the other hand, forms a thick, strong bond that handles vehicles, tools, and general life.
What kinds of garage floor coatings are out there?
Here’s where it can get confusing. People often say “epoxy” when talking about all resinous flooring, but there are several types:
- Epoxy: Great for adhesion, forms the bond to your concrete.
- Polyaspartic: Stays clear (no ambering), dries fast, ideal as a top layer.
- Urethanes: Super scratch-resistant, often used as the final “armor”.
- Cement urethane and methyl methacrylate (MMA): Used in situations where temperature extremes matter.
A pro will layer these for best results: typically, an epoxy base, then a polyaspartic build coat, and a urethane top coat for a floor that resists scratches and stains.
Common misconceptions about epoxy floors
There’s a lot of hype out there. These are the big ones:
- “Polyaspartic is always better than epoxy.” Not exactly. Both have strengths. Epoxy is a better primer; polyaspartic is a great build or finish coat.
- “Pro-grade epoxy is the same as box-store kits.” Definitely not true. Industrial coatings require training and special handling for a reason. Box kits are easy to use, but you won’t see the years of performance a pro install delivers.
- “All epoxy jobs peel or show hot tire marks.” Only the kits from the local store, poorly prepped jobs, or rushed installs. A pro-grade floor with proper prep lasts.
DIY vs hiring a pro: what’s the real difference?
Here’s the big fork in the road. Can you do it yourself? You can, but let’s talk about why most homeowners are disappointed with DIY jobs:
The single most important step: Prep
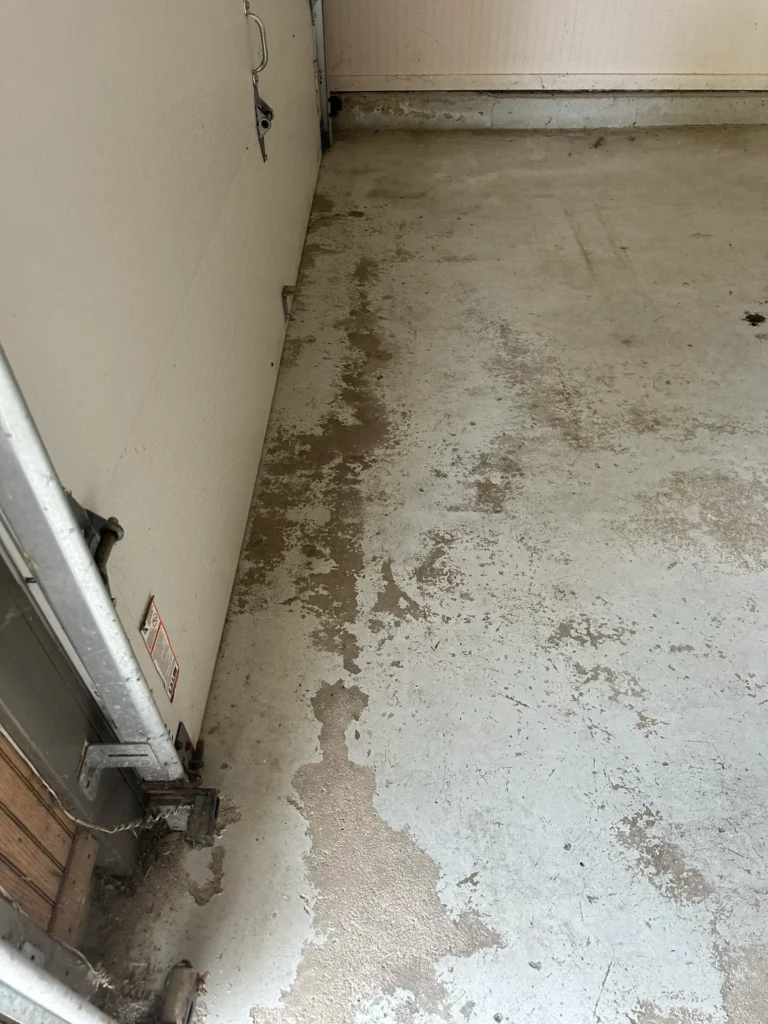
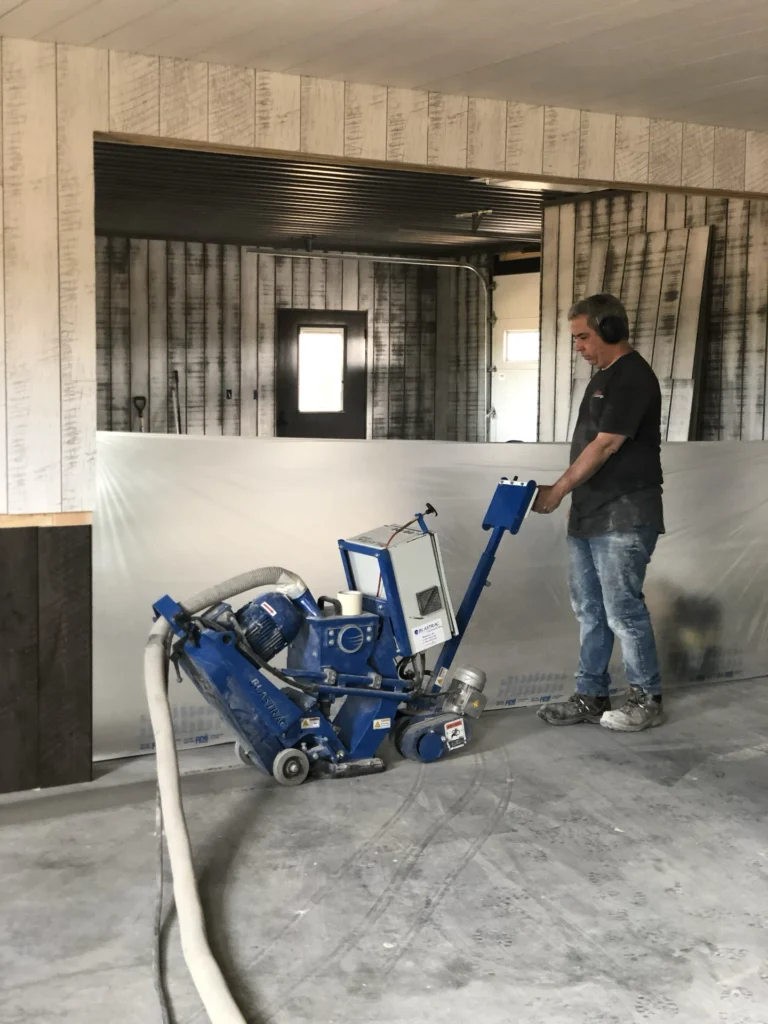
Prepping the concrete is the dealbreaker. Most instructions say to just pressure-wash, but that barely scratches the surface (literally and figuratively). A coating needs something to grip. Ideally, the surface should be mechanically prepared using a diamond grinder or shot blaster, equipment most homeowners simply don’t have. Skimp here, and the best epoxy won’t stick for long.
Professional Prep vs. DIY
Pros use methods scaled by industry standards (from chemical etching to aggressive shot-blasting) to get just the right surface “profile.” We grind at a minimum, and shot blast for the best finish. It’s next to impossible for a homeowner to get this level of prep with rental equipment.
Honestly, I’ve seen too many DIY floors go bad after several years of use. I’d rather see someone hire it out once and enjoy a floor that lasts.
The Rush Factor
Once you mix the components, you have a small window (think 15-20 minutes) to spread, roll, and detail the floor. That can be stressful if you don’t know what you’re doing! DIYers often end up with uneven sections, bubbles, or missed patches.
The Ideal Coatings Process (and why it matters)
If you’re curious about what a real professional installation looks like, here’s how we do a chip garage floor:
- Prep: Shop-blasting the floor to the right texture. (Sometimes half a day or more just on this step.)
- Epoxy primer: Apply that strong, penetrating base layer.
- Color coat and chips: Next day, we put down the colored base and broadcast decorative chips.
- Build coat: After curing, sweep up loose chips and layer on polyaspartic.
- Final topcoat: Urethane goes last for ultimate scratch resistance; you can even choose your level of shine.
We typically install a moisture mitigating primer to stop bubbling or peeling (“osmotic blistering”) before it even starts.
Not only does this process deliver a gorgeous floor, but if you ever want a new look years down the road, you don’t have to start from scratch. We can refresh the topcoat or change the color with another layer.

What about spills, stains, and looks?
Unlike bare concrete, the right coating resists everything from oil and brake fluid to road salt. If you spill battery acid, though, clean it up fast. That’s tough for almost any floor.
We recommend adding texture to the top coat for slip resistance, especially for garages that see snow or ice.
And when it comes to design, you’re not stuck with one look. We’ve done custom color blends and everything from Harley logos to sports teams (copyrights permitting!).
Long-term care and repairs
Epoxy garage floors are super durable, but like any surface, they’ll show wear eventually. You might notice they lose their shine or become harder to clean after a decade or so. The good news: you don’t have to tear it all out. A professional can add a new topcoat or do a quick repair. If your floor looks dull, or cleaning just isn’t working like it used to, give us a call and we’ll take a look—no pressure, and no cost for an inspection.

Polyaspartic vs epoxy: which is best?
Short answer: it depends on where and how you’re using it.
- Epoxy is affordable, adheres extremely well, but takes longer to cure, and isn’t ideal for outdoor spots.
- Polyaspartic dries fast, is UV-stable, and tolerates extreme temperature swings, making it a better choice for front porches, sidewalks, or even freezer rooms. But you’ll typically pay a bit more.
A great floor often uses layers of these chemistries for the best all-around outcome.

In closing
There are plenty of home projects perfect for a Saturday, but coating your own garage floor usually isn’t one of them. Even after years in this business, I still learn new things about the industry! If you want a floor that lasts and looks amazing for a decade or more, reach out to a trusted pro like us at Ideal Coatings. Call or text 574-358-0182, or request a quote online for a no-pressure conversation.